Sunday, 15 May 2011

CS development of characters over time

Starting with Lara Croft

230 pixel model in her debut on the Sony Playstation One

to a 32,000 polygon model in the latest games.


As the technology progresses you can see a move from the angular looking Lara Croft from the first games to a more curved lara croft. Along with more details on her person, more detail in the holster straps and in her textures, because they are higher textured in later games.

Looking at spyro. Here he is in one of his earliest games
He is blocky and low poly. His wings are flat polygons


Here is spyro from the gamecube era. He has a higher poly count and can now make a more expressive face. He is more animated than the previous spyro. The increased polycount now allows him to have expressions on his face, making him appear to think, compared to the above screenshot of PS1 era spyro who could be mistaken for a side-kick or voiceless NPC


Leg Rigging

 The fundementals of rigging seem fairly straight forward. You develop a skeletal system to which you assign controls of various types. This project required the rigging of a pair of legs.
So to start we needed to apply some bones to the legs
This proved fairly easy as once you simplify the bones in the foot, the leg is a simple system of bones going from the hip, to the knee, to the ankle, to the ball of the foot, to the toe. These are then fairly easy to attribute an IKhandle to. Point constrain a simple NURBS circle in Maya to the IKhandle and you have a very quickly made control for your leg bones.

Creating a reverse foot lock was fairly simple once you knew how. It was merely a matter of connecting the correct SCcontrol to the correct bone. The hard part was making sure the skin didnt deform whilst the leg was animated. This was done through a "paint" tool which told each face in the skin mesh how much it could or could not deform when being manipulated.

Door project 03

Here is my door completely assembled minus the texture map. What I have to do now is UV Map my door and export the UV map into some imaging software such as photoshop. Once in photoshop I have to paint each individual sections of the UV map and apply them onto my door as a texture.


Here is my textured door. I really liked the style of my door here. The colours interacted in a way which was very pleasing to my eye. I feel it has developed a retro art decor look here. One which would be suited to a game that used a fairly unique art style, one where it wouldnt seem out of place.


door project 02

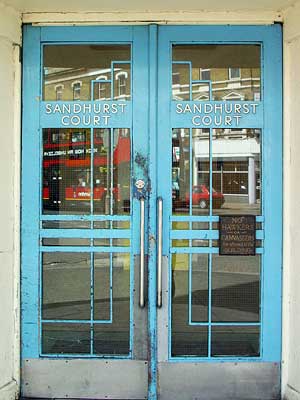
Basically when looking at doors i found myself attracted to art deco. its simple but the lines are elegant and the design is generally very nice.
Also on the technical side, its quite angular which i see would be easier to model in maya.
Art deco also would allow me to use some more colour, perhaps warm woodish tones, warm colours at any rate. It could feed into a bioshock style game.

I'll start my model by creating a cube in 3D and subdividing it so i can have 4 panels in the front along with a section kept flat for the door knob.
I'll extrude the front of the door to create the panels.


I'm planning on the basic design of the door to be quite simple, keeping the lines straight and angular.
I want the main deco feel to come from the texture map. Using colours and textures to give the door some character.

Basically I want to do a simple panelled wood door, which art deco styling provided mostly from the texturing.

Creating a door 01

Looking for inspiration for doors. Posting some pictures of doors that interest me.